 Petscosset GF04 Wooden Sandbox with Cover, Outdoor Kids Sand Box with Lid, Reinforced Bench Seats,Brown


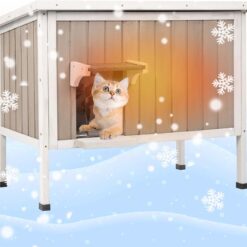
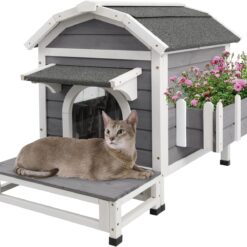
PETSCOSSET PET53 Dog Crate Furniture, 41″L Wooden Dog Kennel with Cushion
$189.87
| Dimensions | 38.5″D x 23.6″W x 41″H |
| Material | Engineered Wood, Alloy Steel |
| Color | Brown |

Easy Assembly ▼
Shipping Information ▼
Stylish crate matches your sofa – finally, a dog bed that doesn’t clash with date night ambiance


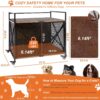
PETSCOSSET XL Dog Crate: Furniture-Style Chew-Proof Retreat with Heavy-Duty Design
Elevate your home’s style while keeping your pup secure with the PETSCOSSET XL Dog Crate—a dual-purpose furniture piece designed for durability, comfort, and seamless decor integration.
Key Features
🏠 Multi-Functional Furniture: Doubles as a TV stand, nightstand, or display shelf; spacious top (41”L x 23.6”W) holds decor, plants, or electronics (220 lb static load capacity).
🔒 Escape-Proof Security: Reinforced 0.5-inch steel tubes + double sliding bolt locks deter chewing and escapes—ideal for anxious or energetic dogs up to 70 lbs.
🛋️ Comfort & Convenience: Includes a 1-inch coral fleece cushion (removable/washable); double doors provide easy access for feeding or cleaning.
🚚 Heavy-Duty Mobility: 360° lockable metal wheels glide smoothly across floors; solid wooden base ensures stability during movement.
| Dimensions | 38.5 × 23.6 × 41 cm |
|---|
3 reviews for PETSCOSSET PET53 Dog Crate Furniture, 41″L Wooden Dog Kennel with Cushion
| 5 star | 0% | |
| 4 star | 100% | |
| 3 star | 0% | |
| 2 star | 0% | |
| 1 star | 0% |
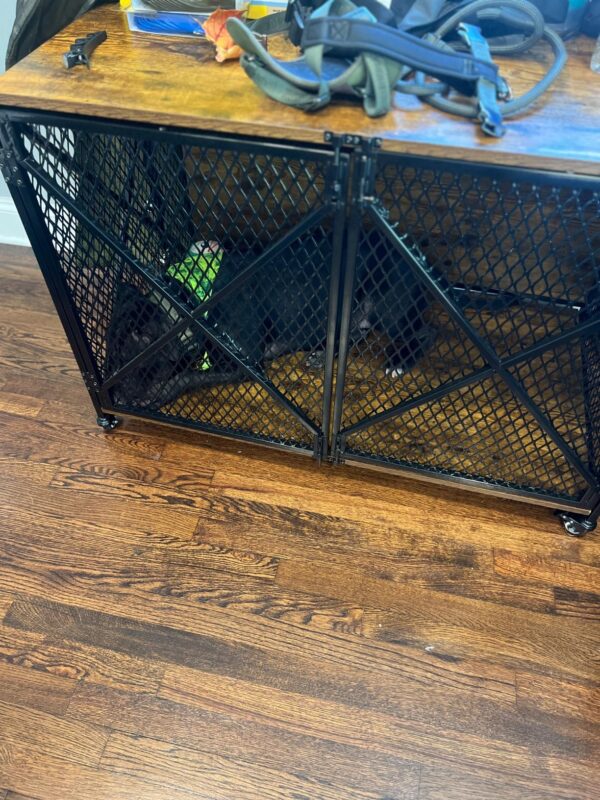
Customer Images

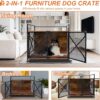
Casters & Pet Pad:The Pet Pad has a Non-slip Bottom on one side, soft and comfortable cushion on another side; 4 lockable 360 degree casters make it easy to move and secure your cage
Sturdy Structure: The heavy duty frame made of durable corrosion-resistant steel; Waterproof particleboard and X-shape metal bars are strong enough to make sure your pet doesn't chew up the cage
Easy to Clean: Just wipe with a damp rag is needed to remove stains on the premium material, making your dog house furniture a new look ; The bottom of the cage is high enough for the sweeper to enter
Multiple uses: This decorative dog kennel can be used as a crate, or as an end table, nightstand, TV stand, which can be easily blend into your home decor; The wide and sturdy top can be used to place dog food and other pet supplies
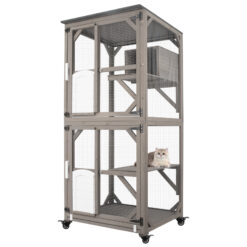
Related products


I love the esthetics of the product. It¡¯s sturdy, once installed. I was able to construct it along, but attaching the doors were a bit difficult in terms of the screws. Having an extra person is recommended.My pup has ample room to move around, and the top provides adequate room to dump his other personal items.
Manufacturer failed to mention board #6 goes on first, forcing us to, nearly, completely dismantle it to fix the issue. Holes were not all drilled straight, two holes had something metal left inside them, so we were unable to screw them in place, and the screws provided for the hinges are the wrong size.
This is a huge upgrade from my wire crate. My dog chewed my previous crate, and it was starting to rust and fail. This sturdy crate will hold up to his abuse. The biggest downside is the poorly drawn instructions. IMPORTANT NOTE: Step #2 in the assembly instructions utilizes the panel you make in step #1 as the back panel. The way it is drawn it looks like support bars are added to the back panel in step #1, and separate support bars are added to the frame in step #2, but actually, you are supposed to use the support bars with the attached back panel from step one. This bad illustration caused me to think I had run out of support bars. After I figured out the mistake, I had to disassemble some of the frame to add the panel from step #1. Doing this will make the random screws it asks you to screw in the frame without anything to attach to it make more sense (they go into the back panel). I hope this saves you some time, worry and confusion. Once assembled, it really is a very nice crate. One star off for poor instructions.